Preparation
The following checklist consists of the last verifications that must be carried out just before ARMING the motors.
These are the essential confirmations to be completed before arming the motors and flying the system. Since operations may vary depending on the context, each operator should create and adapt the checklist according to their specific use case.
1. Landing Gear placement
With the Drone resting on the upper tray inside the box, insert the legs into the metal holders located on four corners of the drone, tight the metal nut, take out the Drone from the box and place it on the ground.
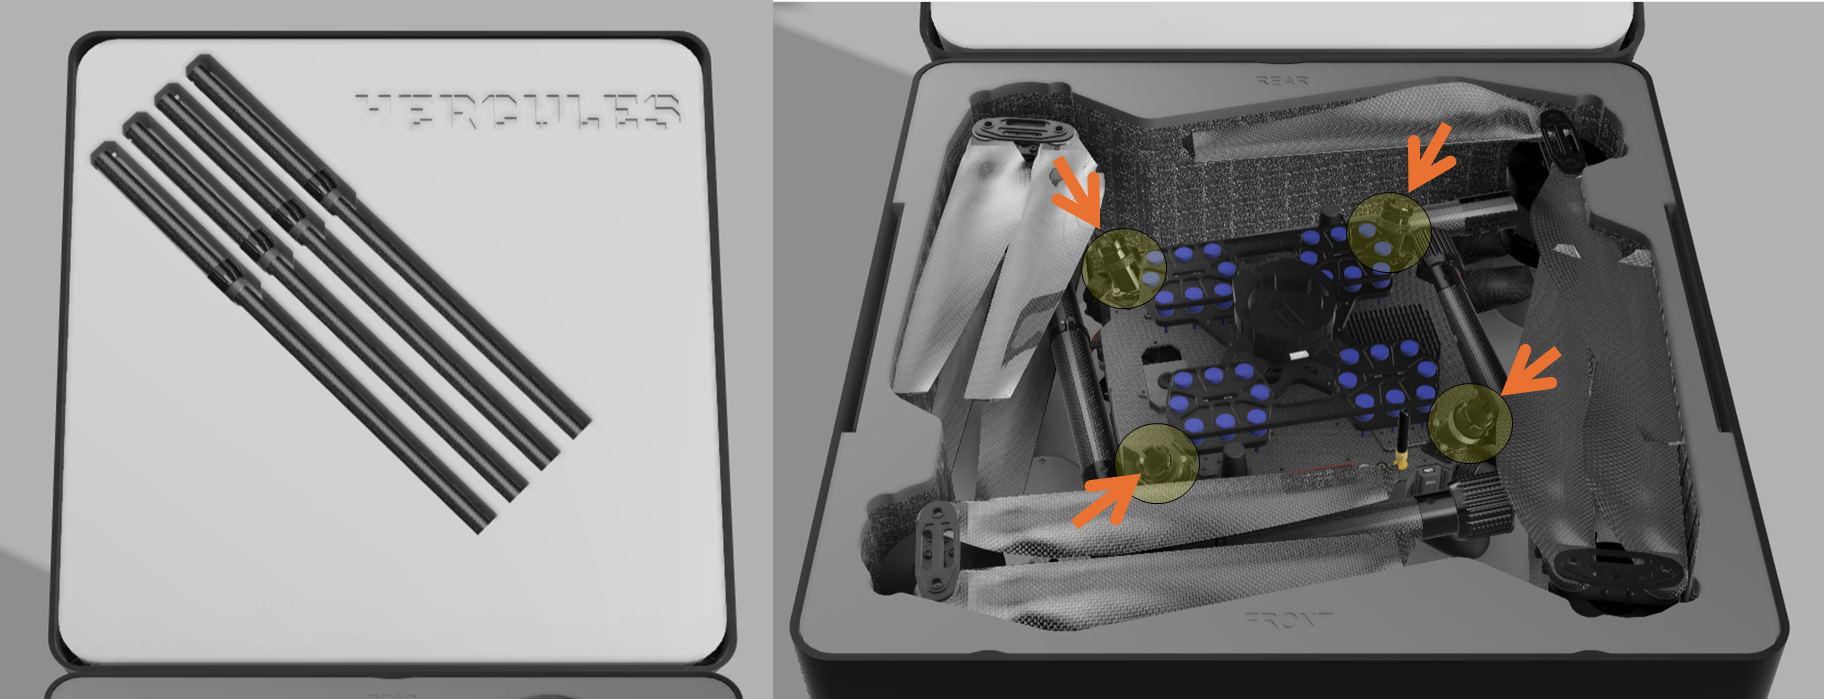
At this point, just pre tighten the nuts. Do not fully torque them yet. Ensure the safety pin is fully inserted into the socket before proceeding.
2. Taking the drone out of the foam
Hold the drone from the central frame and place it on ground.
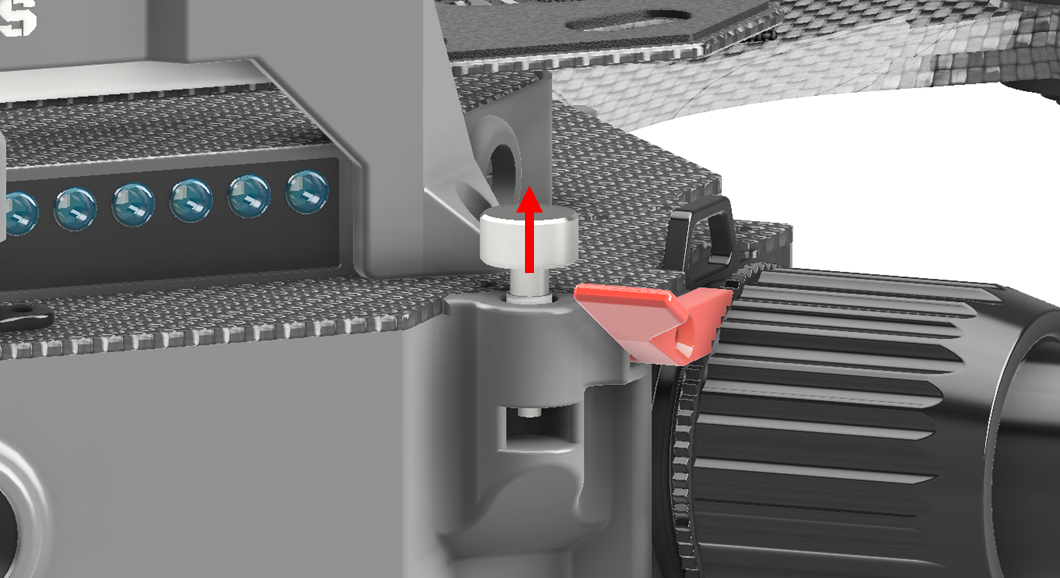
3. Unlock the arms from the Central frame by lifting the safety pin
Release the packing pin locker and unfold each arm one by one by rotating 90 degrees until the axes of the inner and outer portions of the arms align.
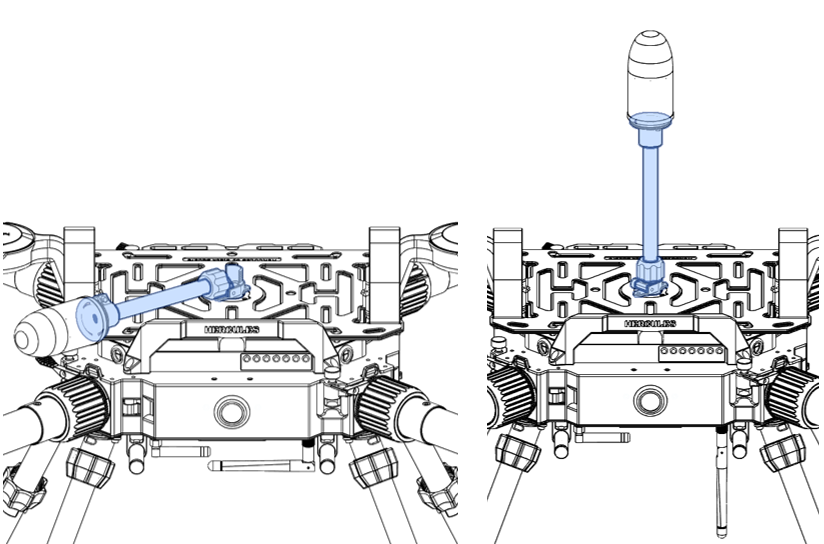
4. Arms tightening
Screw the Arm nut of each arms into the joint. Make sure that the arms is not loose after tightening. At the final stage of tightening the nut, lift the safety lever to lock the nut in place.
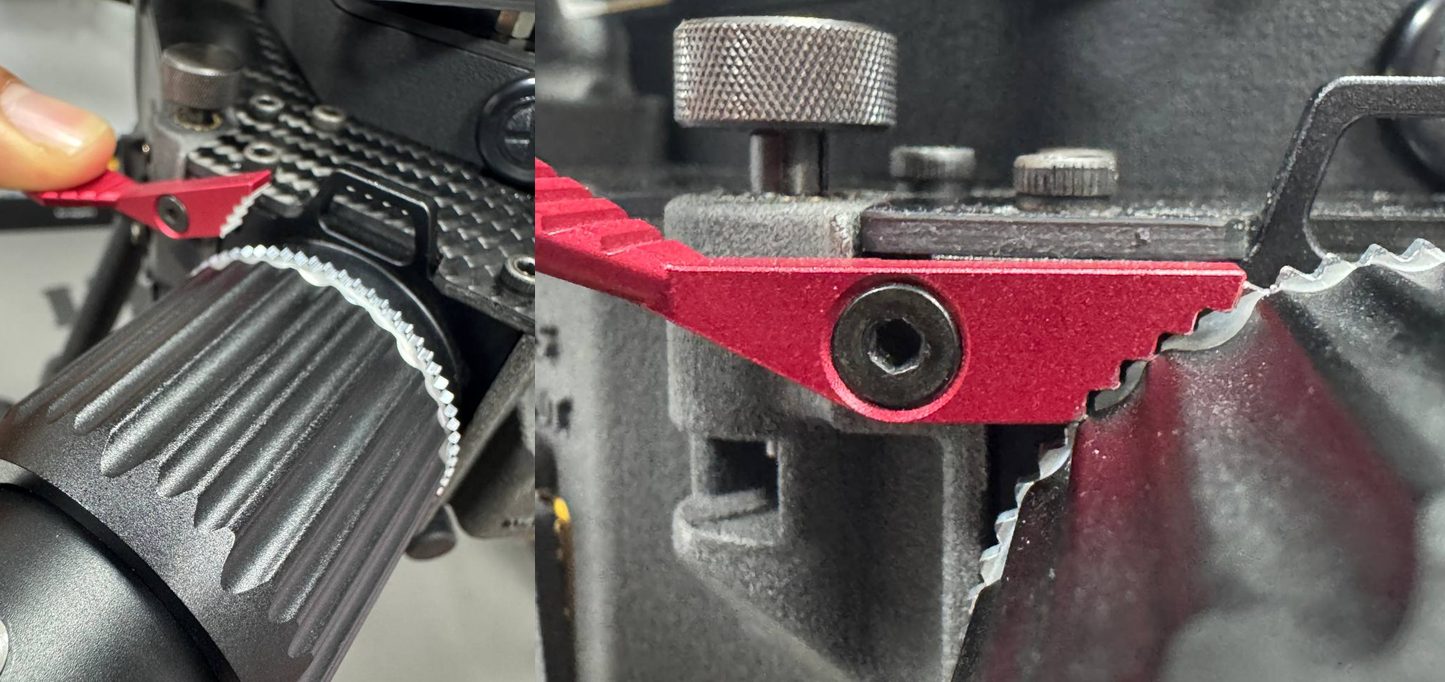
Make sure that the arms is not loose after tightening.
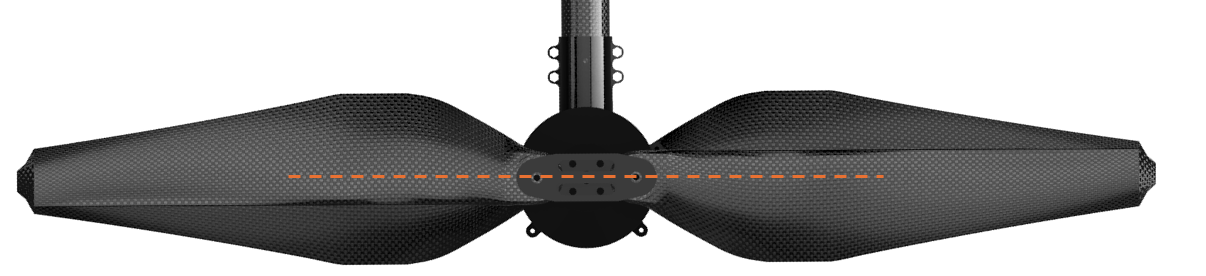
5. Open both blades of each propeller of the arms until they are aligned forming 180 degrees
6. Complete Landing Gear tightening
Complete the tightening of each Landing Gear nut, making sure that the legs are not loose.
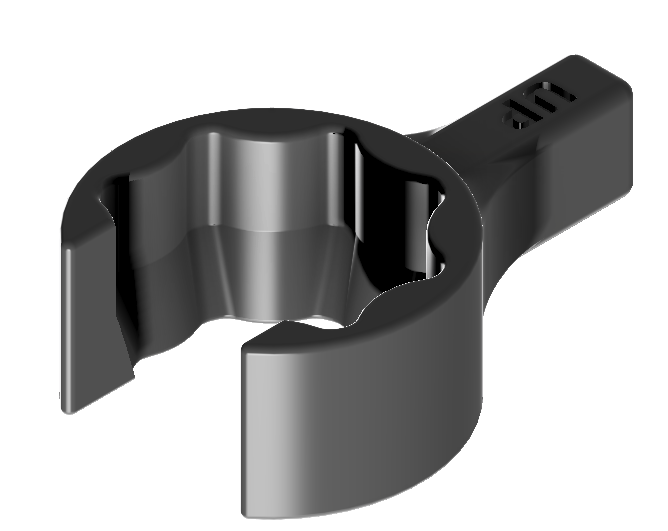
Use the LG nut tool for better tightening.
7. Fold sensor antenna (optional)
If using the antenna mast on the middle, fold and tighten it in vertical position.
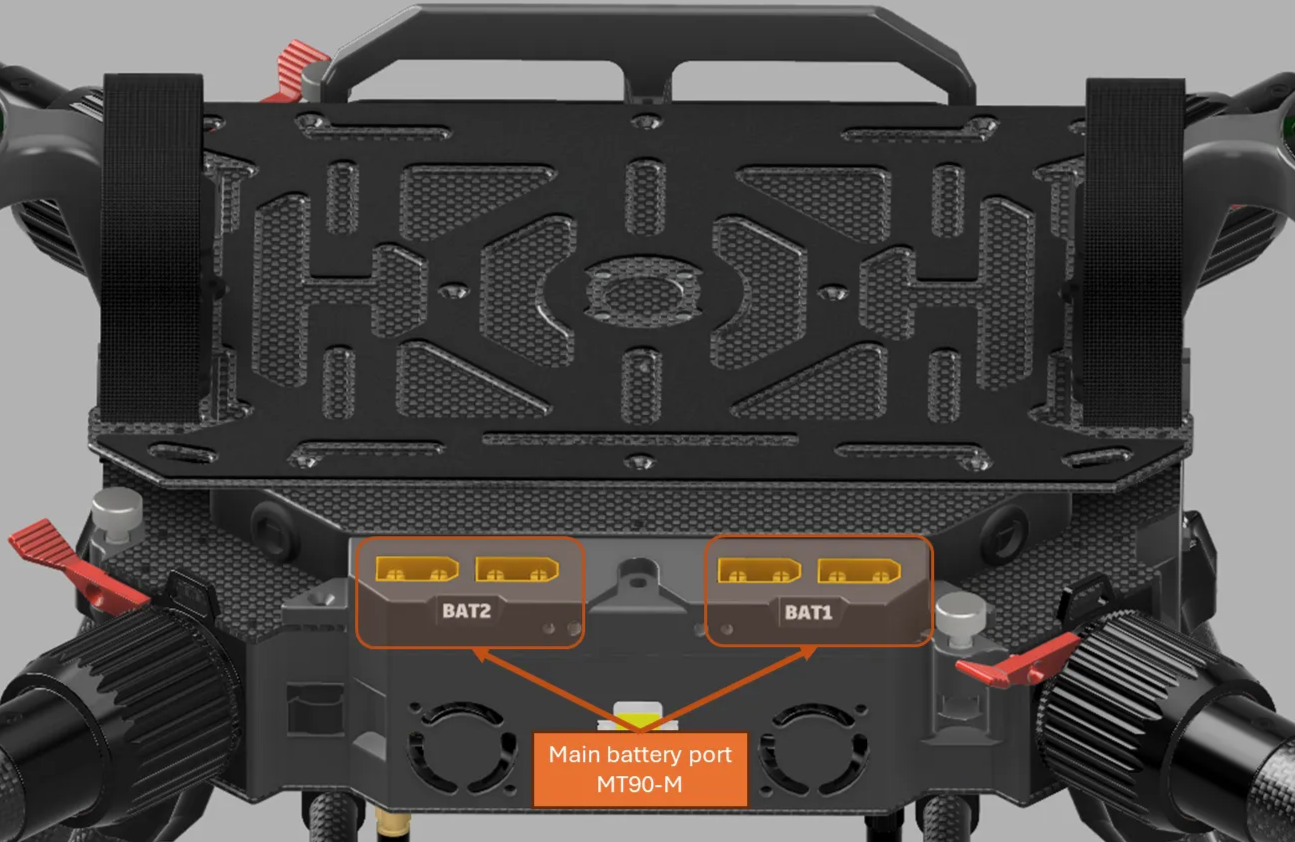
8. Place batteries
Refer to Balance section for more details.
Place the batteries on top of the battery tray, with the connectors facing the rear of the drone.
Then secure each battery using the Velcro straps (two straps per battery).
Use the Battery stopper as reference for the proper CG when installing the battery packs.
9. Turn on the drone
Keep in mind that two 6 cells batteries connected in series made one 12 cell battery, which is the voltage level needed to operate the Drone.
You can connect the two batteries on top of the Drone, either to Battery1 or Battery2 input ports.
- Try not make any movement on the Drone while it is initializing. When you hear the musical tone, the initialization is completed.
- Make sure the Drone is level before connecting the second battery.
- Avoid connecting one battery to the
Batt1connector and the other battery to theBatt 2connector.
10. Turn on Radio Control
- FrSky Controller
Long press Power button on the Radio Control, and wait to receive telemetry data from the Drone.
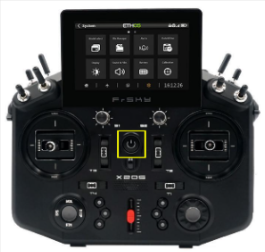
Ensure all sticks are in the rest upper position
- Herelink Pro Controller
You can refer to Hereink Black Pro
11. Check RC antennas
Make sure the RC antennas are properly opened.
12. Connect the GCS software to the Drone
Follows the instructions described on here:
-
Establishing Connection in the GCS using RFD modems
-
Establishing Connection in the GCS using Doodle Labs wearable
13. Wait for the IMU heating
The flight controller is set to heat the internal IMU up to 60 degrees, but it will allow to arm the motor after reaching 50 degrees